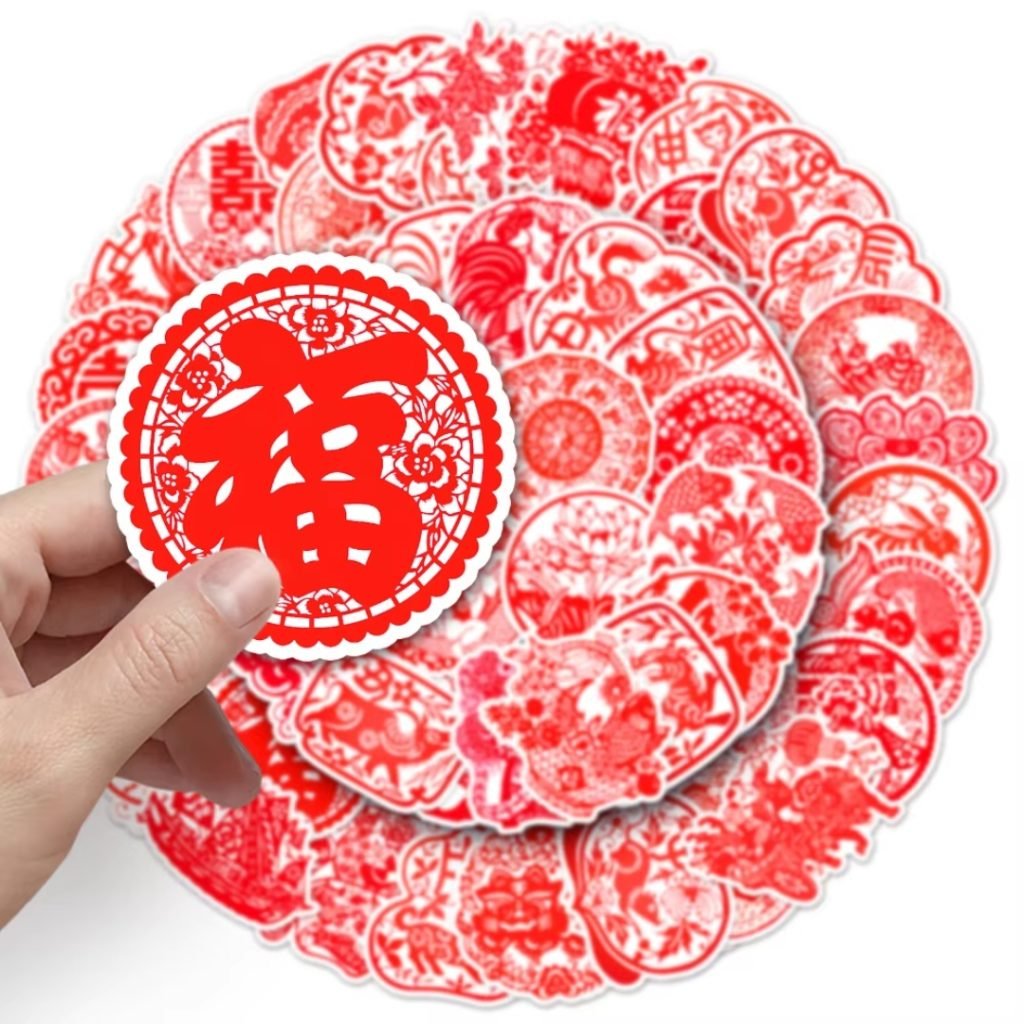
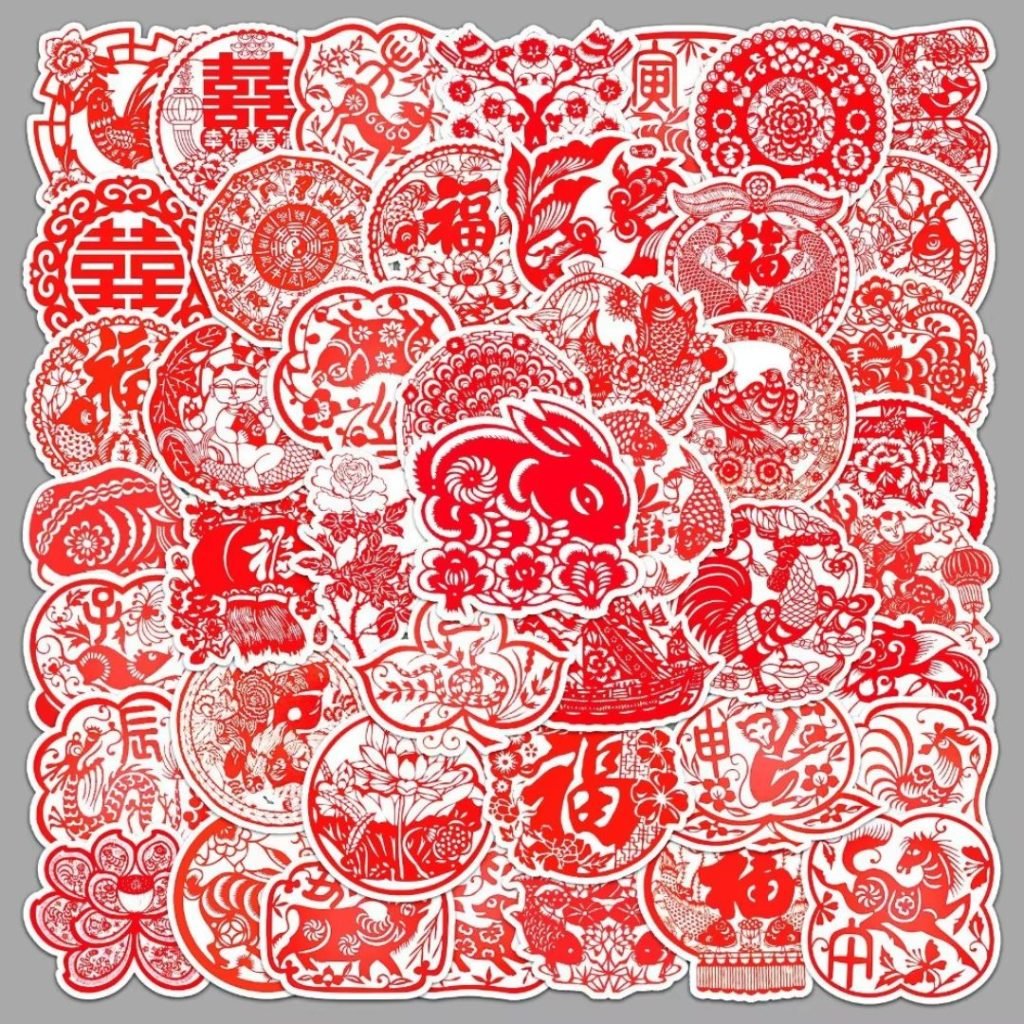
Paper cutting is a time-honored craft practiced for centuries across different cultures. From intricate Chinese red paper cuttings to the structured precision of Japanese Kirigami, this art form has evolved into a versatile medium used for decoration, storytelling, and even commercial design.
The technique involves carefully cutting paper to create detailed patterns, symmetrical designs, and layered compositions.
For beginners, This may seem challenging, but with the right tools and techniques, anyone can master this craft. Whether you’re looking to create traditional festive decorations, artistic stencils, or intricate pop-up designs, understanding the step-by-step process is crucial.
This guide will explore various paper-cutting techniques, including symmetrical cutting, layered designs, Kirigami, stencil cutting, and freehand cutting.
Each technique requires specific tools, precision, and patience. By following structured steps and practicing consistently, you can develop skills that allow you to create visually stunning paper art.
Additionally, The cutting is not only a creative outlet but also has practical applications in home décor, fashion, and branding. Whether you are a hobbyist or an aspiring artist, this guide will provide a solid foundation to help you master the art of cutting.
Table of Contents
Step-by-Step Guide to Different Techniques
Paper cutting is a versatile art form that involves creating intricate designs by cutting paper with precision. This guide explores various techniques, from basic shapes to advanced freehand cutting, to help you master the craft.
1. The History of Paper Cutting
Paper cutting dates back to ancient China during the Han Dynasty (around 4th century AD) when people used thin sheets of paper to create intricate designs. The technique spread to different parts of the world, such as Japan, Mexico, and Germany, where it evolved into various cultural forms. In China, “Jianzhi” papers cutting is used for decorations, while in Japan, “Kirie” focuses on detailed artistic cuts. Over time, artists have developed new techniques, incorporating modern tools and materials to expand the possibilities of the cutting.
2. Essential Tools for Paper Cutting
To start paper cutting, you need the following essential tools:
- Paper: Choose high-quality paper, such as cardstock for durability or thin paper for intricate designs.
- Cutting Mat: A self-healing mat provides a stable surface and protects your workspace.
- Precision Knife: X-Acto knives or craft knives allow for precise cuts.
- Scissors: Sharp, small-bladed scissors help with fine details.
- Ruler and Compass: Useful for creating straight lines and circular shapes.
- Tweezers: Help in handling delicate cuttings.
- Templates and Stencils: Assist in creating uniform designs.
3. Basic Paper Cutting Technique: Simple Shapes
This technique is the foundation of papers cutting. Follow these steps:
- Choose a Simple Design: Start with basic shapes like circles, triangles, and squares.
- Draw the Outline: Use a pencil to sketch the shapes onto the paper.
- Cut Along the Lines: Use scissors or a craft knife to carefully cut along the drawn lines.
- Refine the Edges: Smooth out rough edges using a fine sandpaper or a precision knife.
- Practice Control: Develop a steady hand for cleaner cuts.
4. Symmetrical Paper Cutting Technique
Symmetrical paper cutting involves folding the paper and cutting mirrored patterns. Steps to follow:
- Fold the Paper: Choose a single or multiple folds depending on the design complexity.
- Draw the Half-Design: Sketch the pattern on the folded edge.
- Cut Carefully: Use sharp scissors or a precision knife to cut along the design.
- Unfold to Reveal the Pattern: The design should be symmetrical on both sides.
- Adjust if Needed: Trim excess areas to enhance symmetry.
5. Layered Paper Cutting Technique
Layered paper cutting involves stacking different cut-out pieces to create a 3D effect. Steps to follow:
- Plan the Layers: Decide on the number of layers for depth.
- Cut Each Layer Separately: Use different colors or shades of paper.
- Stack and Align: Arrange layers carefully to form the final design.
- Glue for Stability: Use a minimal amount of glue to hold the layers in place.
- Adjust Lighting: Experiment with lighting to create shadows and enhance the 3D effect.
6. Kirigami: Cutting and Folding
Kirigami combines cutting and folding techniques to create pop-up designs. Steps to follow:
- Select the Paper: Use lightweight but sturdy paper.
- Plan the Folds: Decide which sections will be folded and which will be cut.
- Make Precise Cuts: Cut along the designated lines without removing parts completely.
- Fold Carefully: Create three-dimensional effects by folding certain sections.
- Enhance the Structure: Reinforce delicate folds to prevent damage.
7. Stencil Paper Cutting Technique
Stencil paper cutting involves creating reusable templates for designs. Steps to follow:
- Select a Stencil Material: Use thick paper or plastic sheets for durability.
- Draw the Design: Sketch the pattern ensuring all parts are connected.
- Cut Out the Design: Remove the negative spaces using a precision knife.
- Test the Stencil: Place it over a surface and apply paint or ink to check the results.
- Store for Reuse: Keep stencils flat to avoid bending.
8. Advanced Paper Cutting: Freehand Cutting
Freehand cutting is an advanced technique requiring experience and precision. Steps to follow:
- Use High-Quality Paper: Choose a paper type that won’t tear easily.
- Start Without Sketching: Cut directly without pre-drawn lines for more artistic expression.
- Maintain a Steady Hand: Control pressure and movement for smooth cuts.
- Create Depth and Detail: Varying the cut depth adds texture to the artwork.
- Experiment with Styles: Combine different techniques to create unique designs.
9. Practical Applications of Paper Cutting
Paper cutting is used in various applications, including:
- Decorations: Papers cuttings are used for window decorations, greeting cards, and festival ornaments.
- Illustrations: Artists create intricate paper-cut designs for book illustrations and storytelling.
- Fashion: Some designers use paper cutting for garment patterns and accessories.
- Interior Design: Paper cuttings are used in wall art and home décor pieces.
10. Maintaining and Preserving Paper Cuttings
To ensure the longevity of papers cuttings, follow these preservation methods:
- Store in a Dry Environment: Avoid moisture, which can cause paper to warp.
- Use Acid-Free Paper: Prevents yellowing and deterioration over time.
- Frame Properly: Use glass frames with UV protection to prevent fading.
- Handle with Care: Use tweezers when moving delicate pieces to avoid tears.
- Keep Away from Direct Sunlight: Sunlight can cause colors to fade and weaken paper fibers.
Conclusion
Paper cutting is a timeless and versatile art form that has evolved across cultures and generations. From its origins in ancient China to its widespread adaptation in various artistic traditions, this craft continues to captivate artists and hobbyists alike.
Whether starting with simple shapes or advancing to freehand cutting, mastering the techniques requires patience, precision, and creativity.
Each technique offers a unique approach—symmetrical designs bring balance, layered cutting adds depth, and kirigami introduces a three-dimensional aspect.
Stencil cutting provides reusability, while freehand cutting allows artistic freedom. With the right tools and careful handling, anyone can create intricate designs suitable for decorations, illustrations, and even fashion.
Preserving this is essential for maintaining their beauty and longevity. Proper storage, framing, and handling can ensure that delicate creations remain intact for years.
As it continues to evolve with modern tools and digital influences, its charm and artistic significance remain unchanged. By exploring these techniques, artists can push the boundaries of creativity and craft stunning, intricate works that stand the test of time.